Although I say these are heritage greeting cards, you could do the same with any picture. I made these for my grandmother's 84th birthday this week. I also gave a pack to my mother for Easter and to my aunt for an upcoming birthday. Why buy store bought cards and stationary when you can give something truly personal?! This picture is of my grandmother when she was a new wife and farming it! The writing is my grandfather's handwriting, he died in 1979.
You will need:
card stock paper,
digital photos on your computer,
4 1/2 x 5 1/4 envelopes,
and a paper cutter (or you could scissors).
 With MS Word, go to FILE, click PAGE SETUP, click LANDSCAPE, then click OK.
Go to FORMAT, click COLUMNS, click TWO, then OK.
This will divide your page in half, although you will not 'see' it until you start typing.
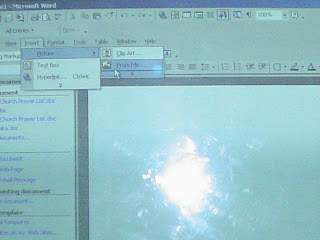
Go to INSERT, click PICTURE, click FROM FILE. This will open your picture folder.
Choose which picture you want to use, click on it, click INSERT. It will probably be much bigger than you want when inserted on your page. Right click on the corner of your picture and drag it to make it the size you want.
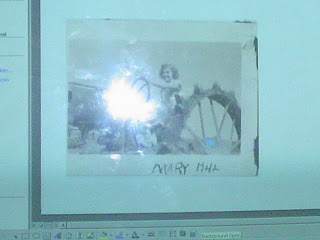 Place your pointer (arrow) on the left side of the picture and click the ENTER button until the picture moves down to the bottom of the page, staying on the left side of the page. You may need to hit the space bar some to get it centered where you want it, or click center in the tool bar.
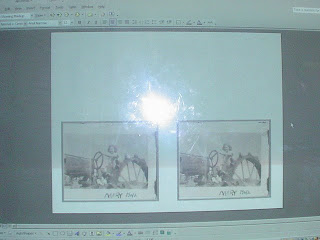 Right click on picture, click FORMAT PICTURE if you need to adjust the color.
Right click on picture, click BOARDERS AND SHADING, under BOARDERS click BOX, choose STYLE, COLOR and/or WIDTH that you want. You'll have to play around to get what you like best.
You can add a caption if you'd like.
Right click on picture, click COPY, PASTE picture in the right hand column. Adjust to get your picture centered.
Go to FILE, click PRINT.
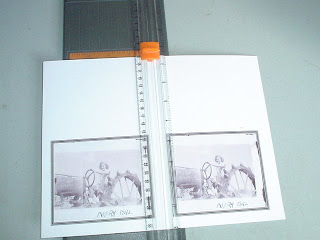
Using your paper cutter cut down the center. You could also use a ruler and scissors. I always end up having to trim alittle off after I do this to make it perfectly even.
Fold cards in half. If your picture does not get centered as you want, especially where the fold is, go back and adjust your margins. Print only one page at a time until you get it where you want it.
These will fit nicely in a 4 1/2 x 5 1/4 envelope. Wrap with a ribbon and they make a nice gift.
Fold cards in half. If your picture does not get centered as you want, especially where the fold is, go back and adjust your margins. Print only one page at a time until you get it where you want it.
These will fit nicely in a 4 1/2 x 5 1/4 envelope. Wrap with a ribbon and they make a nice gift.
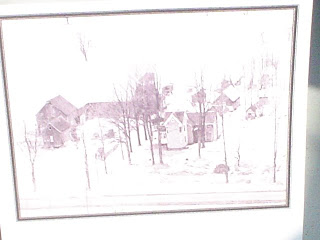
I also made some with a picture of their farm from 1950.
These would also make great Mother's Day gifts!
These would also make great Mother's Day gifts!





2 comments:
Lovely! I just scanned some family photos of my mom's mom's family and this is the perfect project for them!
Blessings--
Dana
Thank you! I'd love to see you post your results!
Post a Comment